Can you do a weighted vest jump rope workout?
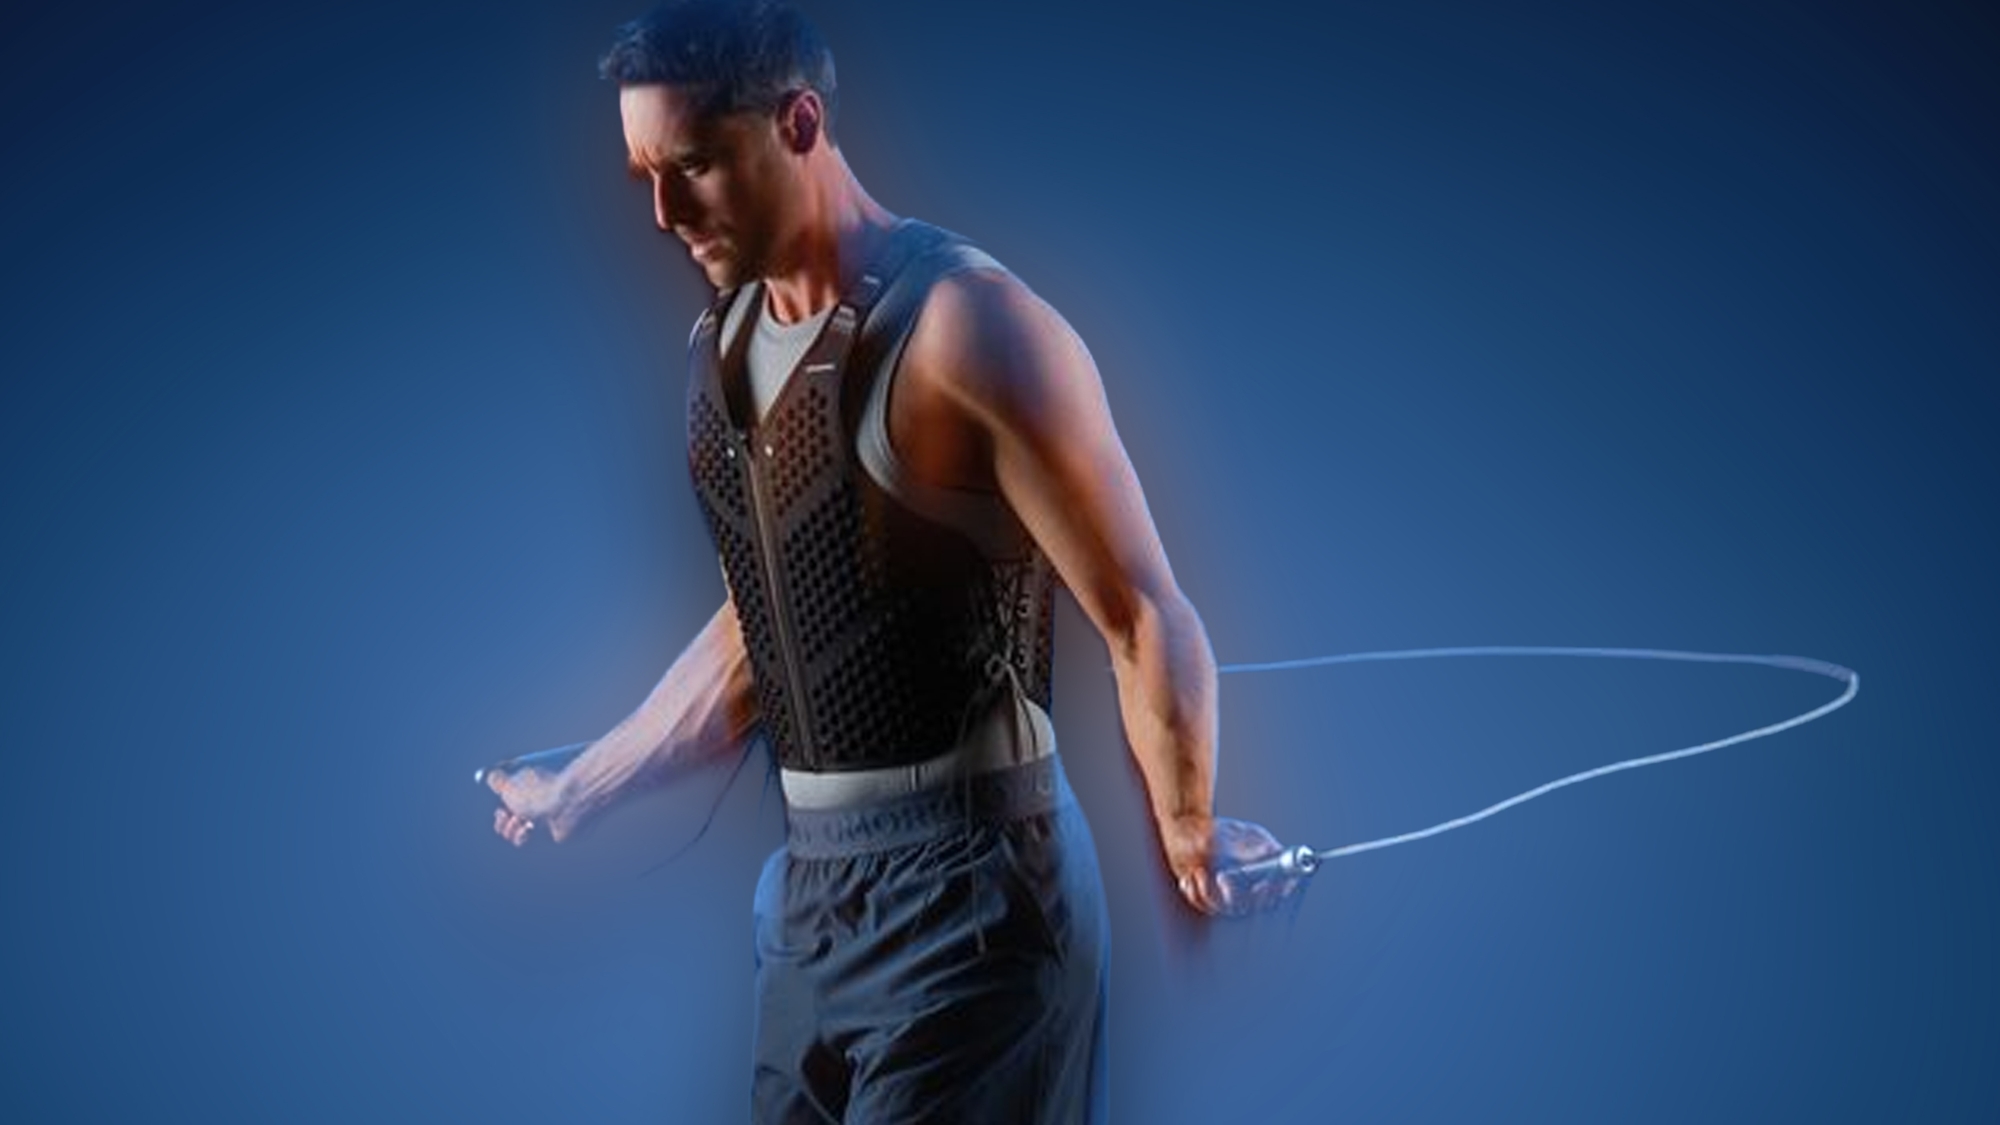
Yes, experienced jump-rope users can test a weighted vest in short, controlled bouts. The evidence does not establish one universal vest load or interval prescription for jump rope, so a conservative starting point is an unweighted baseline, a secure fit, and a progression that changes one variable at a time. Keep the session centered on rhythm and landing control, not fatigue.
Rope-skipping research has measured distinct lower-extremity loading patterns compared with walking and running, while weighted-vest jump studies have found that added load changes impact forces, joint work, and landing mechanics. Those findings do not prove that a weighted vest jump rope workout is safe or unsafe for every person. They do support a conservative approach because the combination adds an external load to a repeated jumping pattern. See Mullerpatan et al., *Journal of Bodywork and Movement Therapies*, on lower-extremity loading during bounce-rope skipping, and Harry, James, and Dufek, *Human Movement Science*, on weighted-vest effects during jump landings.
What should you be able to do before adding the vest?
A weighted vest belongs after the basic rope pattern is reliable. Before adding load, use a short readiness check that asks whether the athlete can keep the rope turn, foot contact, and trunk position consistent without the vest.
- Complete several relaxed rounds of single-under jumps without repeatedly catching the rope.
- Keep the jump low enough that the rope clears the feet without pulling the knees sharply toward the chest.
- Land under the body rather than reaching the feet forward or backward.
- Maintain quiet, balanced contacts on the forefoot and midfoot area without collapsing inward at the knees.
- Finish the unweighted round without pain, dizziness, unusual breathlessness, or a loss of coordination.
This is a coaching screen, not medical clearance. A current injury, recurring joint symptoms, cardiovascular concern, or uncertainty about high-impact exercise is a reason to consult a qualified health professional before adding a vest. The American Heart Association lists chest discomfort, shortness of breath, lightheadedness, unusual tiredness, and related symptoms among warning signs that require immediate attention rather than a return to exercise. Review the American Heart Association's warning-sign guidance for the full list.
How should you choose and fit the vest?
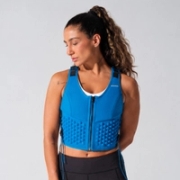
For a short power workout, G‑Vest Icon is the primary OMORPHO fit. G‑Vest Icon products use stainless steel ball bearings sandwiched between durable polyester and synthetic fabric layers, with distributed resistance designed to stay close to the torso. The men's line starts at 10 pounds (4.5 kg), and the women's line starts at 6 pounds (2.7 kg); G‑Pack panels can raise the respective configurations to 20 pounds (9.1 kg) and 12 pounds (5.4 kg). Those are product capacities, not a recommendation to use the maximum load for jumping. Confirm current product details in the OMORPHO G‑Vest collection.
For jump rope, use the lightest configuration that allows the rope pattern to stay unchanged. Do not select a load simply because it is available or because a heavier vest feels appropriate for squats. G‑Vest Icon is positioned for short, intensive and power workouts, while G‑Vest Run is the line reserved for running-specific guidance. This article does not recommend G‑Vest Run for jump rope or turn a vest capacity into a jump-rope prescription. For broader context on weighted-vest programming, see OMORPHO's weighted-vest strength-training guide.
Fit the vest close to the torso before beginning. Check that the closure is secure, the weight does not shift when the arms swing, and the vest does not restrict breathing or shoulder motion. Perform a few unweighted rope turns after fitting, then test the vest with marching or a small bounce before full intervals. This staged fit check helps assess readiness, not a claim that a particular vest eliminates impact.
Which landing and posture cues matter most?
The best technique cue is the one that keeps the rope cycle quiet and repeatable. A study of bounce-rope skipping measured lower-limb mechanics distinct from walking and running, and weighted-vest landing studies show that load arrangement can influence measured ground-reaction forces and joint moments. Use the following cues to keep the task simple while the body adapts.
- Jump low: clear the rope with the smallest comfortable rise. Higher jumps create more time in the air without helping a basic single-under interval.
- Turn from the wrists: keep the elbows near the sides and let the hands guide a smooth circular rope path.
- Stack the torso: keep the head over the rib cage and the rib cage over the pelvis. Avoid leaning back to make room for the vest.
- Land quietly: let the ankles, knees, and hips share the landing rather than locking the knees or stomping down.
- Keep the knees tracking: point the knees in the same general direction as the toes and reduce the interval if that alignment becomes difficult.
- Keep the rope close: if the rope begins to travel wide or the feet start chasing it, return to an unweighted drill.
These cues are technique guidance, not a promise of injury prevention. The research should be read in context: Baus, Harry, and Yang, *International Journal of Strength and Conditioning*, examined vest load arrangement during countermovement-jump landings, while Mullerpatan et al. compared joint loading during bounce-rope skipping, running, and walking. The rope study examined a specific bounce-rope method, not every rope style or every athlete.
Shop the OMORPHO gravity-vest collection for a secure, distributed-resistance setup.
What is a practical progression?
Progress the skill before the load. The sequence below is a sample framework for readers who already have basic jump-rope mechanics. It is not a clinical protocol, and it should be adjusted for training age, surface, footwear, and recovery.
Stage 1: Establish the unweighted baseline
Use four rounds of 20 seconds of relaxed single-under jumping, followed by 40 seconds of walking or standing recovery. Record whether the rope rhythm, landing sound, and trunk position remain consistent. If the final round is noticeably less controlled, repeat this stage on another day instead of adding the vest.
Stage 2: Test the vest without chasing volume
After a general warm-up, put on the lightest suitable G‑Vest Icon configuration and perform two 10-second single-under tests with at least 50 seconds of easy recovery between them. The purpose is to assess fit, breathing, rope clearance, and landing control. Remove the vest if any of those variables deteriorate.
Stage 3: Build short weighted intervals
Try six rounds of 10 seconds of weighted single-unders and 50 seconds of recovery. Keep the rope speed moderate. Do not add double-unders, lateral patterns, or a heavier configuration in the same session. One new demand at a time makes it easier to identify what caused a change in technique.
Stage 4: Extend only one interval variable
When the previous stage stays controlled across more than one session, choose one modest change: add a few seconds to the work interval, reduce a small amount of recovery, or add a small amount of load if the vest permits it. Do not make all three changes together. The American College of Sports Medicine's progression model emphasizes individualizing resistance training to the person's goal, capacity, and training status, and it describes progression as a planned change rather than an automatic jump in demand. See Kraemer et al., ACSM's position stand on progression models in resistance training.
Sample weighted vest jump rope workout
This sample session is intentionally short and technique-led. It creates a clear exit point before fatigue turns a controlled jump into a different movement. Use a surface with enough grip and clearance for the rope, and keep an unweighted option available.
- Warm-up: 3 minutes of easy walking or marching, followed by 2 minutes of unweighted rope practice.
- Fit check: secure the lightest suitable G‑Vest Icon configuration and perform 10 seconds of easy jumping.
- Main set: complete 6 rounds of 10 seconds of single-unders and 50 seconds of easy walking.
- Technique reset: after round 3, remove the vest or continue unweighted if the rope path, landing sound, or posture has changed.
- Cool-down: walk until breathing feels settled, then note which cue was hardest to maintain.
The session is successful when the last weighted interval resembles the first one. It is not successful because the athlete completes a longer set, jumps higher, or finishes exhausted. If the vest makes the workout feel too demanding, keep the rope work unweighted and use G‑Vest Icon for a separate slow-movement or power exercise session instead. The OMORPHO G‑Vest Icon workout guide covers that separate training context.
When should you stop?
Stop the weighted interval immediately when the rope catches repeatedly, the feet begin landing heavily, the knees lose their usual tracking, the torso leans to compensate, or the vest shifts. These are practical signs that the current combination of load and fatigue is no longer producing the intended movement. Return to walking or unweighted practice only if it feels comfortable.
Stop exercising and seek urgent medical help for chest pressure or pain, severe or unusual shortness of breath, marked lightheadedness, chest discomfort, or other symptoms described in the American Heart Association's warning-sign guidance. For localized joint, tendon, or back pain that persists after stopping, end the session and seek qualified assessment rather than testing the same load again. No interval template can determine whether pain is a technique issue, a load issue, or a medical issue.
Find an OMORPHO G‑Vest for controlled short power training.
Weighted vest jump rope workout FAQs
Is it okay to jump rope with a weighted vest?
It can be appropriate for an experienced jumper who maintains rhythm, posture, and quiet landings with a light, secure configuration. There is no universal evidence-based load for every person or jump-rope style, so begin with an unweighted baseline and brief tests. The rope-loading context is discussed by Mullerpatan et al., and added-load landing mechanics are discussed by Harry, James, and Dufek.
What is the best weighted vest for jump rope?
For OMORPHO's product range, G‑Vest Icon is the primary fit for short, intensive and power-focused workouts. Use the lightest suitable configuration rather than the maximum capacity, and confirm that the vest stays secure while the rope pattern remains unchanged. See the OMORPHO G‑Vest collection for current options and product details.
Should beginners use a weighted vest for jump rope?
Beginners should first learn the unweighted rope pattern. Once basic single-unders are repeatable, a qualified coach can help decide whether a short weighted test fits the person's goals and capacity. The ACSM progression model recommends matching progression to training status and individual capacity, rather than applying one loading rule to everyone. Read the ACSM position stand.
How long should a weighted vest jump rope workout last?
There is no established universal duration for this exact combination. A short interval format, such as 10 seconds of jumping followed by 50 seconds of recovery, gives the athlete regular technique checks and an easy stopping point. Treat that format as a starting example, not a promise of a particular fitness result.
Should a weighted vest be used for double-unders?
Double-unders add a timing and height demand that can make technique harder to assess. Build consistent unweighted single-unders first, then test weighted single-unders before considering more complex rope patterns. The weighted-vest jump research cited above examined countermovement jumps, not double-unders, so it should not be used to claim that a vest is safe or effective for that specific skill.
What if the vest changes my landing?
Remove the vest and return to unweighted practice if the landing becomes loud, stiff, asymmetrical, or difficult to repeat. Weighted-vest landing research reports changes in impact forces and joint work under added load, so a change in landing is a reason to reduce the demand rather than force the original interval. Review the Human Movement Science study on weighted-vest landing mechanics.
Research and scope
- Mullerpatan et al., Lower extremity joint loading during Bounce rope skip in comparison to run and walk, Journal of Bodywork and Movement Therapies.
- Harry, James, and Dufek, Weighted vest effects on impact forces and joint work during vertical jump landings in men and women, Human Movement Science.
- Baus, Harry, and Yang, Weighted Vest Load Arrangement and Data Normalization Effects on Lower Limb Biomechanics During Countermovement Jump Landings, International Journal of Strength and Conditioning.
- Kraemer et al., Progression Models in Resistance Training for Healthy Adults, ACSM position stand, Medicine & Science in Sports & Exercise.
- American Heart Association, Warning Signs of a Heart Attack.